March 11, 2006
Photo Attempts: Boro Bead Jewelry
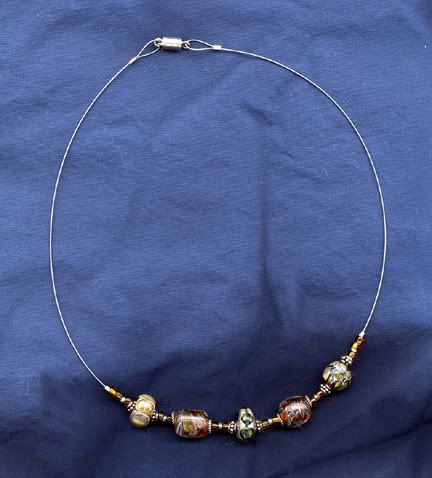
I've been making borosilicate glass beads for a couple of years now, and along with learning the skills involved in actually making the beads, it has become apparent that I needed to figure out how to photograph them. My attempts at taking pictures with my digital camera were a disaster. With or without flash, with or without auxiliary lighting, the glass was just too reflective, and I couldn't even come close to getting a decent picture. I tried my scanner, and although the results were much better, they were still no where near what I had in mind. This is one of my best scans as an example:

My head was swimming with ideas last week, I was trying to sort it all out and decide what kind of a light booth I wanted. On my weekly Friday yard sale trek it suddenly leapt out at me--one of those "I knew it when I saw it!" moments. And "it" was one of those plastic protective collars used on dogs to prevent them from chewing or biting surgical sites. It was marked a quarter, which seemed like an excellent price for a ready-made light box.
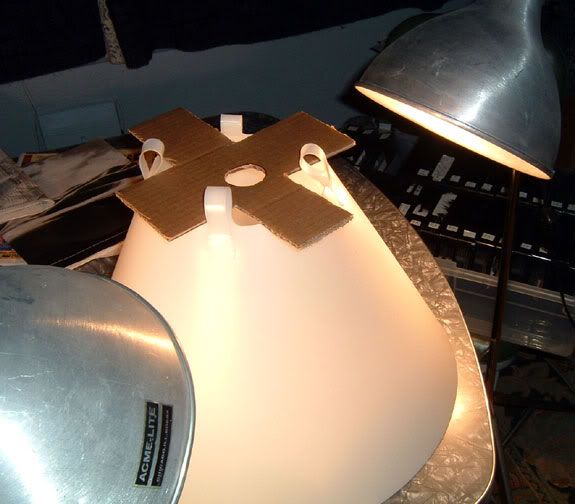
I still had to figure out how to support the camera. Since I wanted to shoot down, the tripod wasn't going to work, as it isn't one of the kind that allow the center pole to be reversed so the camera can hang down over its target. Wanting to keep things as simple as possible, I decided to try cutting a piece of cardboard to fit the collar, with a hole for the camera lens. I was thrilled when I tried it and it worked. Worked quite well, actually. Here is the setup, put together quickly as an experiment:
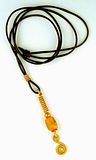
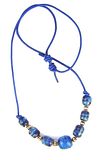
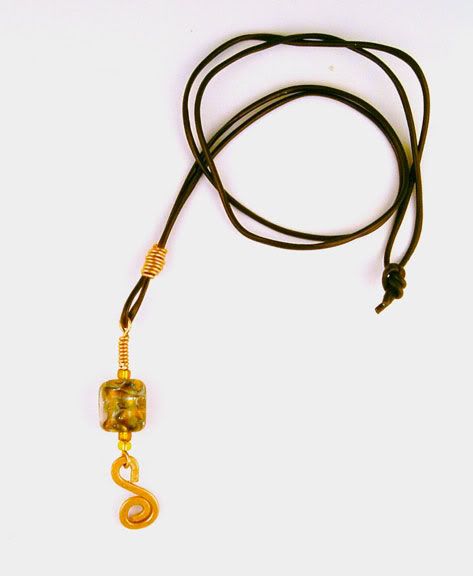
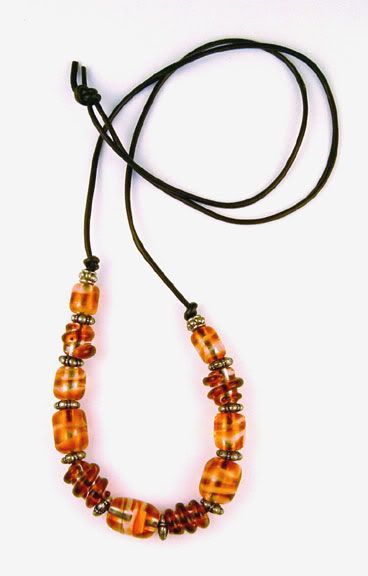
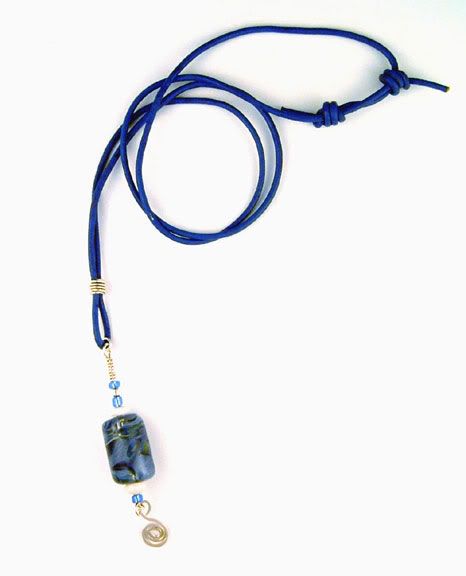
And here are some of the results of the experimenting I did this afternoon:
Without even clicking on the thumbnails you can probably see the improvement.


I still have some work to do learning how to fine-tune the set-up, but the photos are significantly better than anything I've previously come up with.
These pictures have all been cropped, and I adjusted the levels in Photoshop, but that is the extent of the computer manipulation on them. I'm not finished figuring this out, the colors are still a little off, and I would like to improve on the way the beads "look" (they look too opaque to me), but I think adjustments to the lighting will take care of some of that. I am also going to check the calibration on my monitor, it has been a long time since I've checked that. I know boro is notoriously difficult to photograph, and I never expected to be successful at it without some study and work. But I'm thrilled with the progress I made today, I definitely feel that I am on the right track and I'm feeling optimistic about the chances of coming up with some decent pictures of the beads and jewelry I have been making.
I just love days like this--productive days when things go right.
I wish just such a day for you--and very soon!
¶ 7:33 PM
My head was swimming with ideas last week, I was trying to sort it all out and decide what kind of a light booth I wanted. On my weekly Friday yard sale trek it suddenly leapt out at me--one of those "I knew it when I saw it!" moments. And "it" was one of those plastic protective collars used on dogs to prevent them from chewing or biting surgical sites. It was marked a quarter, which seemed like an excellent price for a ready-made light box.
I still had to figure out how to support the camera. Since I wanted to shoot down, the tripod wasn't going to work, as it isn't one of the kind that allow the center pole to be reversed so the camera can hang down over its target. Wanting to keep things as simple as possible, I decided to try cutting a piece of cardboard to fit the collar, with a hole for the camera lens. I was thrilled when I tried it and it worked. Worked quite well, actually. Here is the setup, put together quickly as an experiment:
And here are some of the results of the experimenting I did this afternoon:
Without even clicking on the thumbnails you can probably see the improvement.


I still have some work to do learning how to fine-tune the set-up, but the photos are significantly better than anything I've previously come up with.
These pictures have all been cropped, and I adjusted the levels in Photoshop, but that is the extent of the computer manipulation on them. I'm not finished figuring this out, the colors are still a little off, and I would like to improve on the way the beads "look" (they look too opaque to me), but I think adjustments to the lighting will take care of some of that. I am also going to check the calibration on my monitor, it has been a long time since I've checked that. I know boro is notoriously difficult to photograph, and I never expected to be successful at it without some study and work. But I'm thrilled with the progress I made today, I definitely feel that I am on the right track and I'm feeling optimistic about the chances of coming up with some decent pictures of the beads and jewelry I have been making.
I just love days like this--productive days when things go right.
I wish just such a day for you--and very soon!
¶ 7:33 PM